
You ever want to be comfy cozy but still dressed? Like be able to move and not fuss with what you’re wearing but still make a statement? That’s medium-key to me. Low-key feel with high-key appeal meeting in the middle! (OH SHOOT! I just came up with that. I’m copyrighting that! Don’t steal that!)
Joy, of Oh Joy on IG, was wearing just such a dress on IG a few weeks back and I decided then and there that THAT was the dress that I would make for my next project collaboration with Mood Fabrics as part of their Sewing Blogger Network. It caught my eye immediately! Long and flowy, bright and called attention. So you know me! I screenshotted her stories like a crazy person but then she tagged and mentioned that it was this $248 JCrew dress (which is now sold out but I have seen some on eBay):


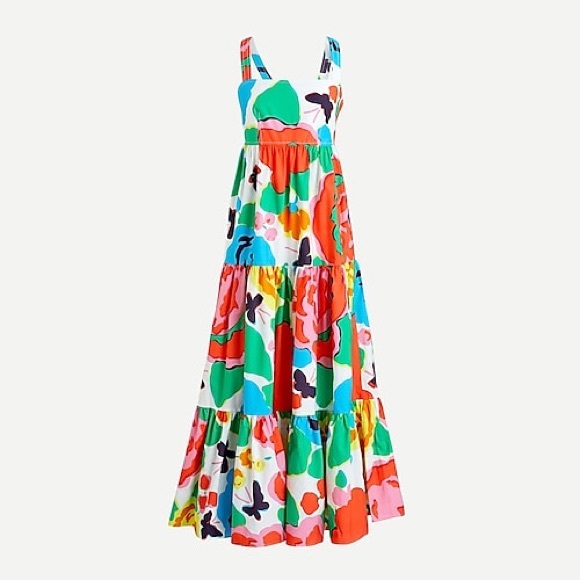
But let me tell you THIS!! (Confession Time!) I went onto the JCrew website a couple of weeks ago when prepping for this project and I saw that this was on sale and I was THIS CLOSE to buying it! Yes, buy it and make it! I already loved it SO much. I had to call a friend. And my sisters actually. They talked me off the ledge. Hmmmffpppttt
Back onto Mood I went where I came across this BEAUTIFUL multicolored cotton poplin:

BEAUTIFUL, right? It’s #121913 Crayon Multicolor Cotton Poplin. OMGosh! This fabric is amazing. The color POPS, especially on camera, and the feel is thinner but definitely sturdy. And it makes a fancy little swishy sounds in the finished dress, which I love.
I wanted it to look and feel like a real JCrew dress both inside and outside so I also got a similar lining to what JCrew uses and this Theory Papyrus Soft Polyester Lining (#326747) worked perfectly! It’s light and soft and slightly sheerish.
On to some juicy deats:
*Used McCall’s 7951 as a base to work off of after my fingers refused to cooperate and drape this square bodice. It’s the closest thing I had in my stash. I cut it on the fold instead of into 2 pieces and I extended the side seam down on the front to enclose the side gap. I extended the waist out to fit me and squared off the top of the bodice
*I cut (2) 24″x4″ straps and added 2 sets of buttonholes so that I could wear it both straight back and criss-crossed. Ever try to measure for strap buttonholes on the back of a dress by yourself? The contorting involved!! I’m lucky I didn’t pull anything.
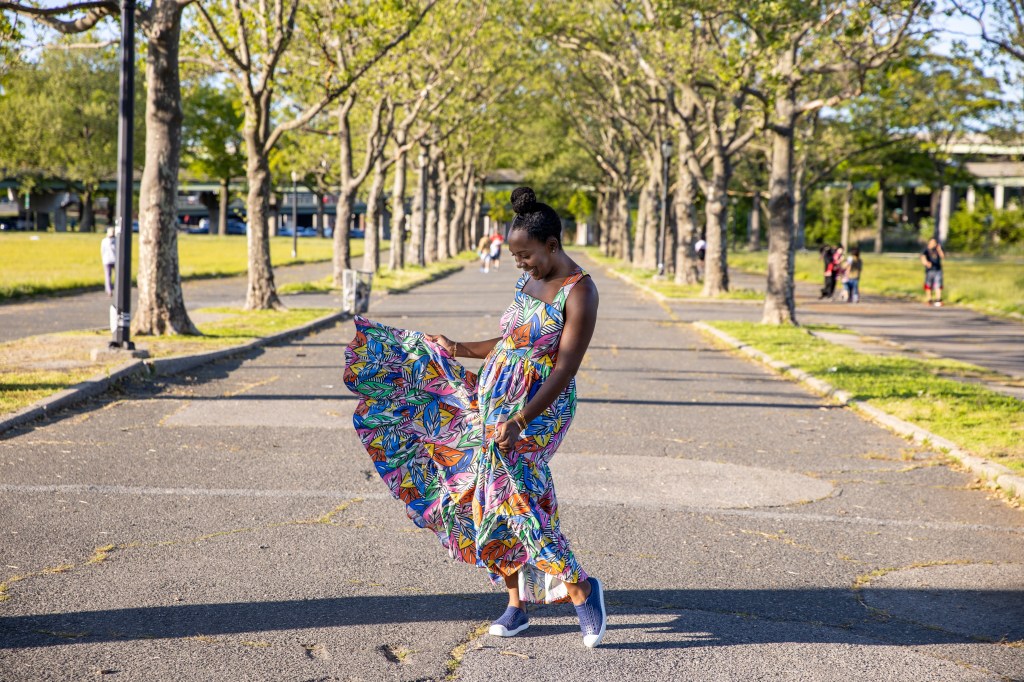
*The skirt! The original dress has 3 tiers with the first two looking wider than the last. The length seems also closer to skimming the ankle so had to play with the numbers to get that effect. I settled on the first tier at 15″ tall by 60″ wide (double my waist). The second tier came in at 13″ tall by 120″ wide (double the first tier) so the third tier was 8.5″ tall by 240″ wide!!!!!!! The shirring!! I sat at my machine with the mantra, “This will be so pretty!! SO PRETTY!!!” (Repeat 549 times until done)
*The lining. I mirrored the fabric bodice for the lining bodice. For the lining skirt, I measured down past my knee and cut 2 pieces the length of the lining shirred the waist to fit the bodice and that’s it. It actually worked out because it provided just enough umph underneath to not only make the inside comfortable, but to also add a little body under the dress.
Final Thoughts :: I LOVE HER!!! (say it with me now….) It’s the prettiest thing I’ve ever made!!!! LOL


One Comment Add yours